

In our January issue, we have the instructions to make this lovely arm-knitted blanket. The pattern is by Woolly Mahoosive where you can also buy chunky yarns for arm knitting. Visit woollymahoosive.com. If you’re having trouble getting started, watch this video from Woolly Mahoosive, which should give you a visual idea of how it arm knitting works and help you make sense of it all. You can buy the January issue of The Simple Things in all good shops and supermarkets or from our online store.

Photography: Josie George
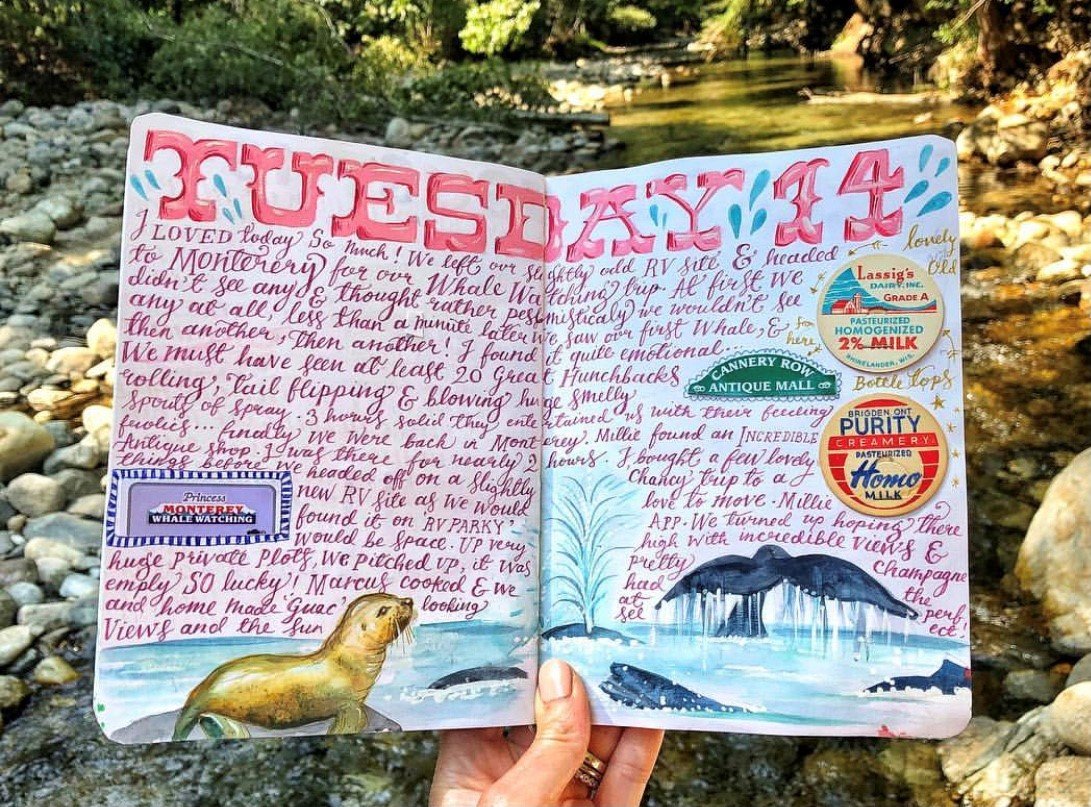
How to | Make a Thread Journal
Keeping a record of your days doesn’t have to mean picking up a pen and paper; you can be as
creative as you like
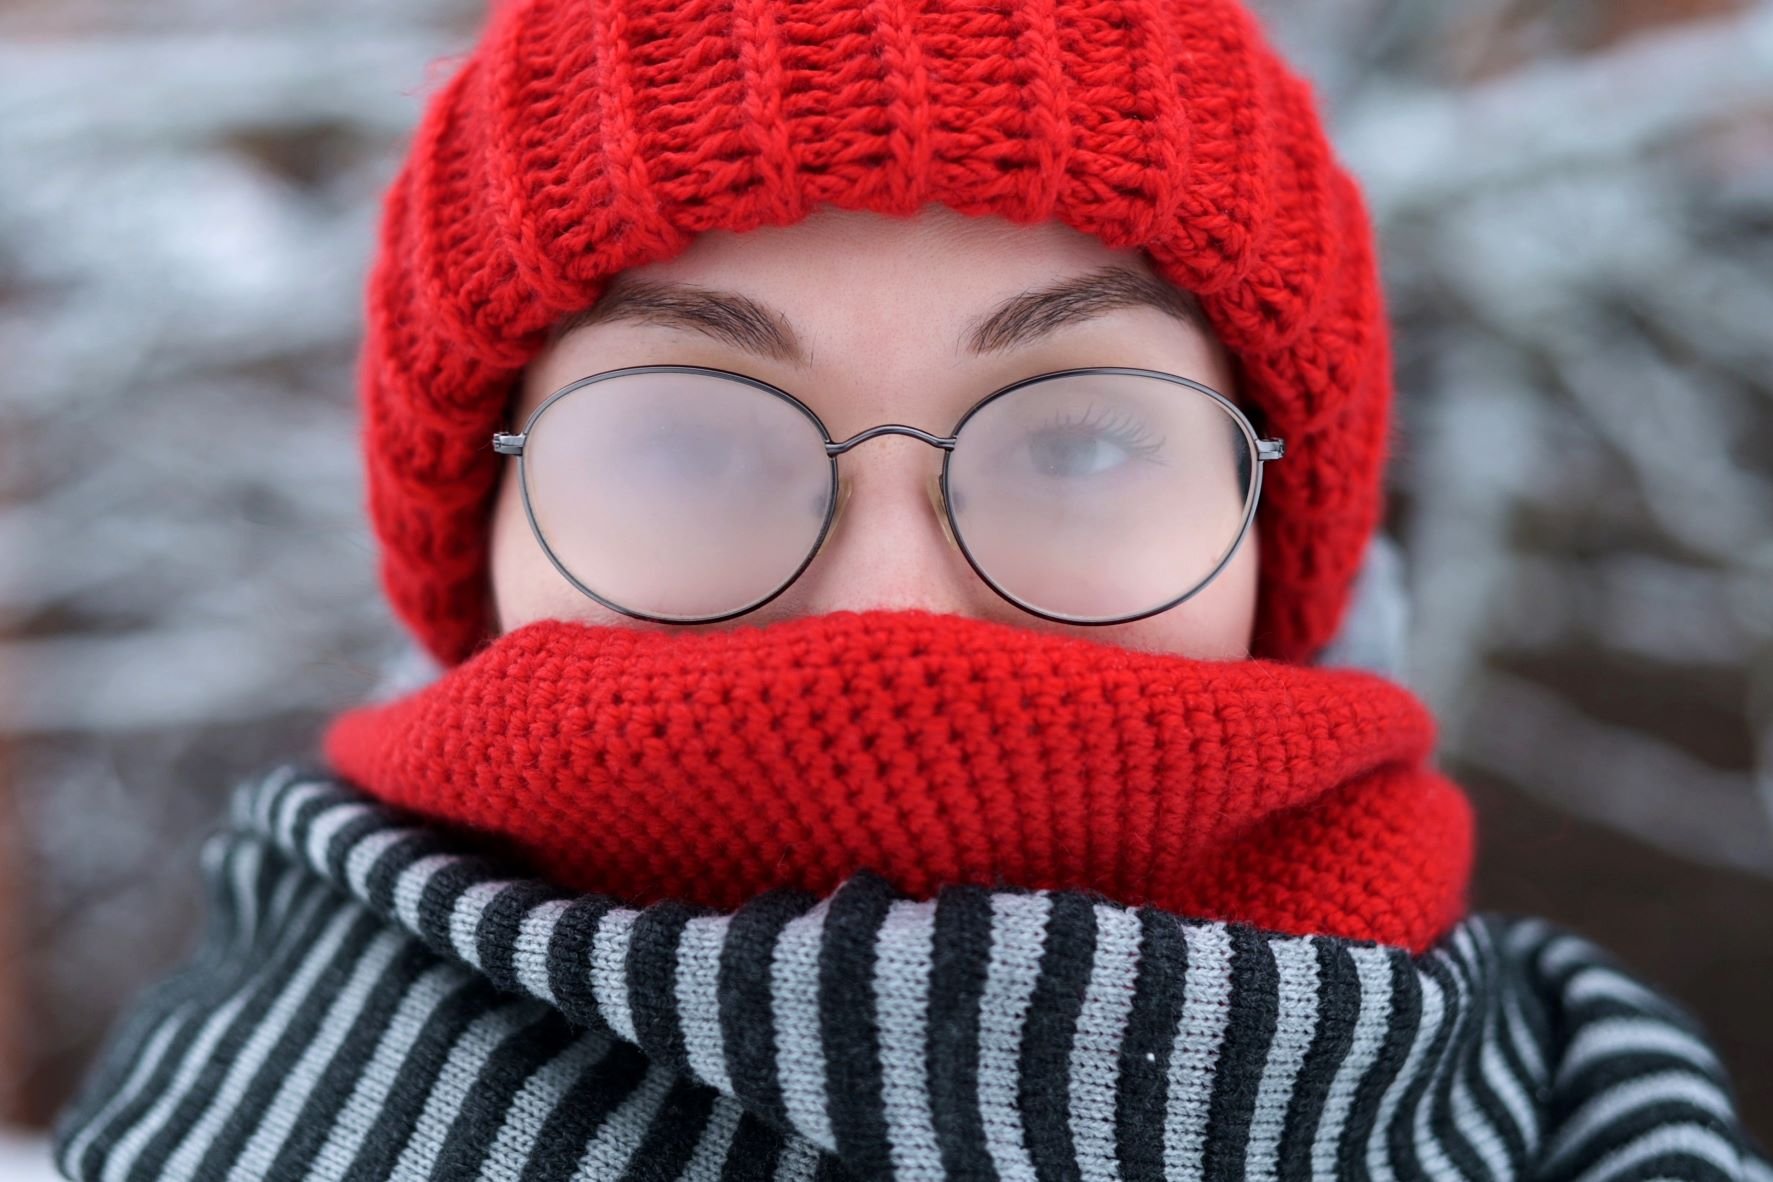
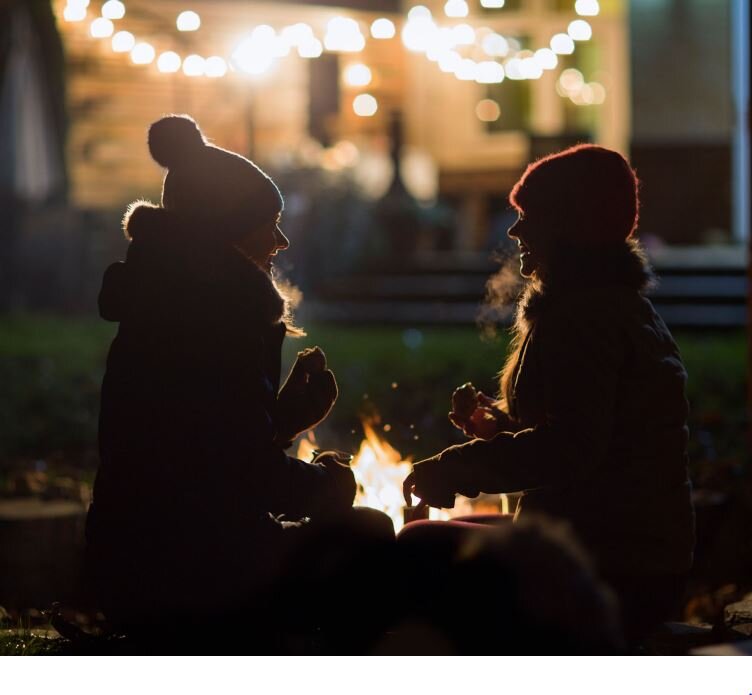
If we say so ourselves, we loved the weather scarf in our February issue (pictured above by Josie George). It seems like an ingenious way both to keep a small record of each day as well as to keep up a hobby. But if you aren’t a natural knitter, you might like to try a different sort of thread journaling.
Look up ‘thread journaling’ on Pinterest and you’ll see hundreds of examples from people who’ve kept an embroidery record of their year. Here’s how it’s done.
What you’ll need
An embroidery hoop
Some cloth (a large napkin is good)
A good collection of differently coloured embroidery threads
Needles, thimbles, embroidery pen and other notions
How to do it
* Think about how you want to record your days. You can do a year (you don’t have to start with January, of course) or just a month or a specific period in your life.
* Sketch out a few ideas on paper for how you’d like your design to work. You could set it out like a calendar grid, present it as a wheel or just go completely higgeldy piggeldy and stitch each day or week’s motif wherever you please.
* Pop your cloth in your hoop and get started. You might like to stitch a motif to represent each day or each week. What you stitch is up to you. You could do a castle or a hill to represent a relevant day out, a cake to represent a party you went to, a pair of curtains for a theatre trip, a flower or vegetable for something you’ve grown in the garden. If you prefer, and have the chops, you could get quite specific - perhaps embroidering something to represent every book you read in a year, or everything you grow in your veg patch this summer.
If you’d like to read more about Josie’s Weather Scarf you can find out all about it on page 108 of our February issue. Buy this month's The Simple Things - buy, download or subscribe
More from our February issue…

More journaling inspiration…

Photography: Jonathan Cherry
Yarn Bomber's Toolkit
Psssst! Considering moonlighting as a guerilla knitter? Over here… We’ll sort you out
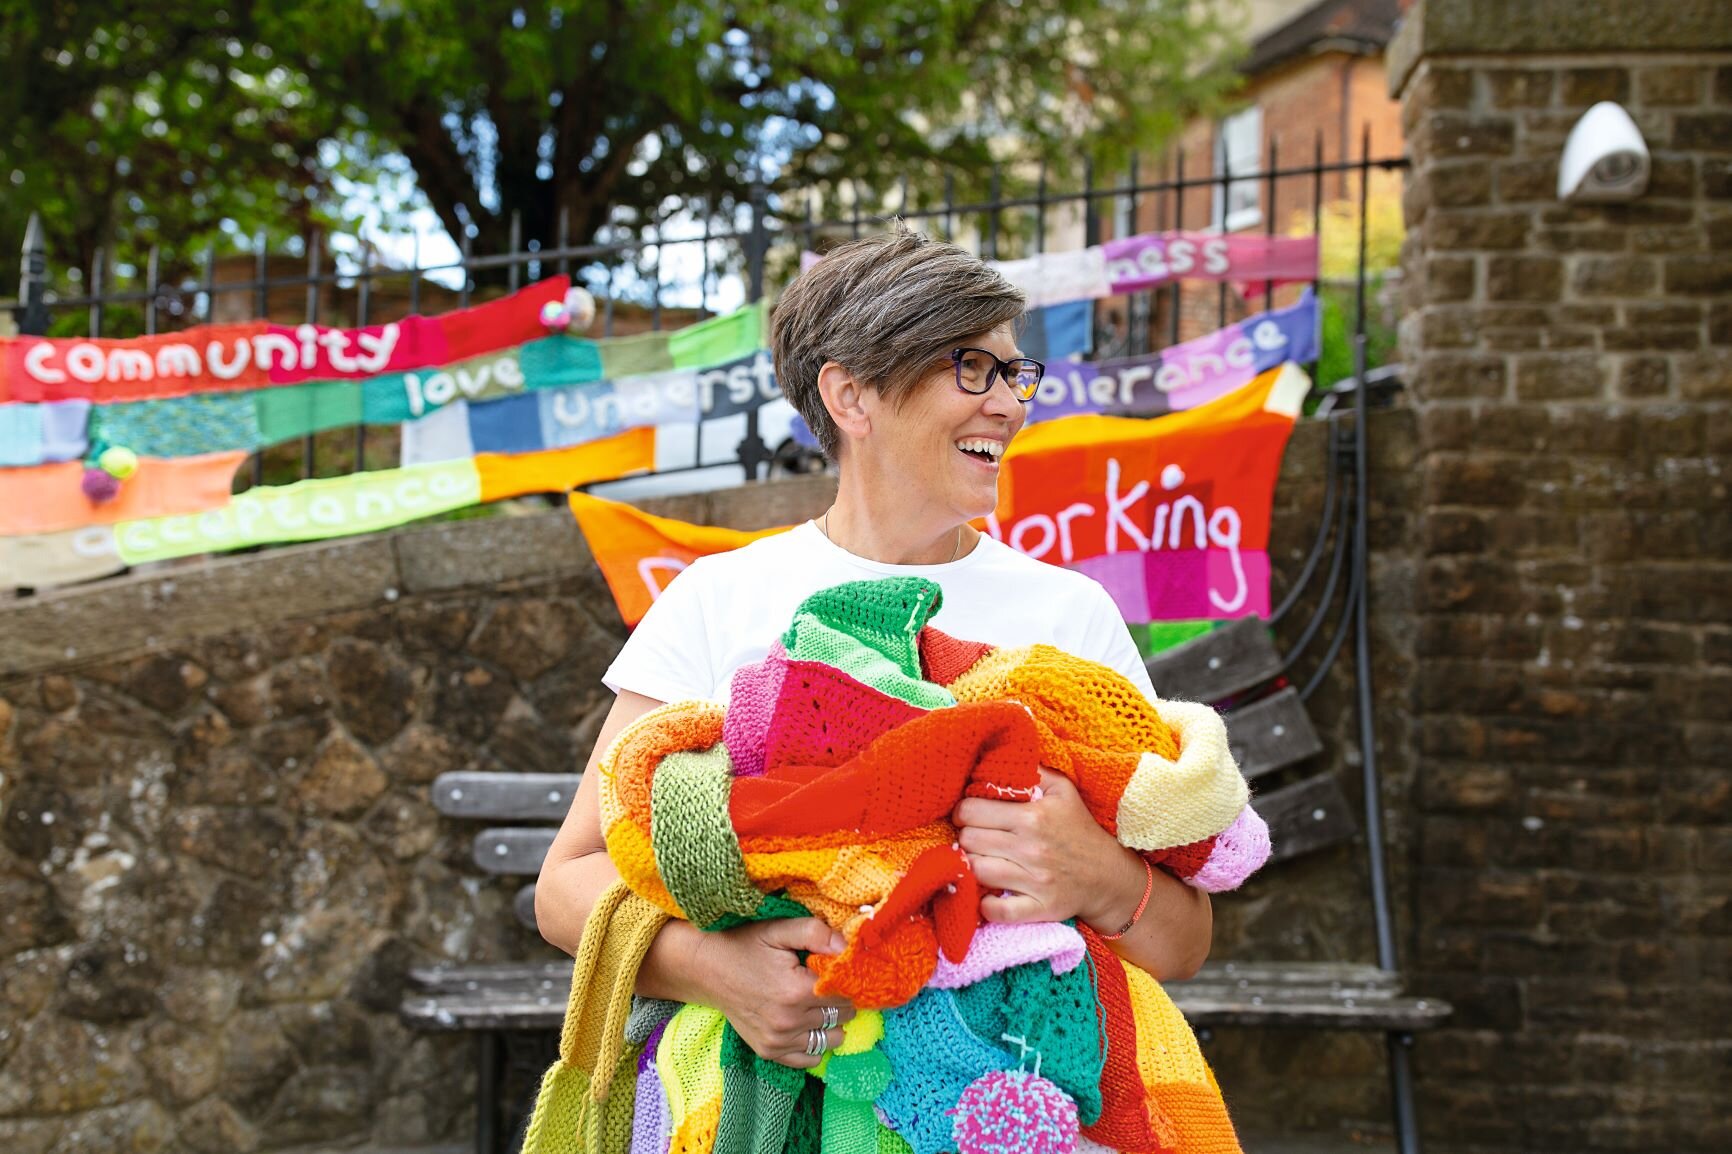
We met some rather marvellous yarn bombers for our ‘Modern Eccentrics’ pages in our November issue. The women in question have been yarn bombing their home town of Dorking in Surrey with colour and style for several years. You can read all about them from page 76.
Yarn bombers (aka guerilla knitters) use their craft to make political points, raise money or awareness for charities and sometimes just to make people smile or think. If you’re inspired to do some yarn bombing of your own, you’ll need a few bits and bobs to get you going.
Here’s a guide to what you need for your Yarn Bombing Toolkit before you head out under cover of darkness with your knitting.
The permission of the owner/local council (and in lieu of that, the cheek of the devil and a winning smile should the police arrive).
A head torch so you can shine a light on your work hands free.
Sturdy, waterproof shoes (you never know what you may have to climb on or through). Also hand wipes, as you never know what you may inadvertently put your palms in either.
A raincoat in case of showers.
A hat to keep you warm (and to pull down to hide if your neighbours drive past).
A floral silk scarf or knitted corsage to give off the impression of being a mild-mannered woman who’s vanishingly unlikely to interest the long arm of the law.
A small first aid kit, just in case.
Your knitted ‘installation’.
A map of the local area so you know where you’re going and can beat a hasty retreat if that seems best.
Spare yarn and a large needle for stitching your piece in place.
Wire and garden ties (like you’d use for tying back in the garden).
A good pair of scissors and a pen knife (if you’ve never used that thing for getting stones out of horses’ hooves, now may be its time to shine).
A camera to take some shots of your finished work.
A strong sense of mischief.
A Thermos of tea to warm you up and toast your hard work afterwards.
A fulsome apology and some nice biscuits to offer if you should happen to be asked to move on.
Buy this month's The Simple Things - buy, download or subscribe
More from our November issue…


More crafts that might change your life…


Astounding facts | knitting
Tales of woolly wonder that will provide you with a good yarn
We’ve been celebrating all things wool-related in our ‘Cosy’ November issue. It’s got blankets for snuggling (including some with dogs on), a short story about knitting and a retrospective on how wool has shaped British history, from Viking socks to knitted bikinis. And we thought we’d share with you some of the wonderful woolly facts we discovered along the way.
The record for the longest knitted scarf stands at 4,565.46 metres. That’s nearly three miles. It was knitted by Helge Johansen of Oslo, Norway, and took him 30 years. We’re concerned about how he kept warm for those three decades before the scarf was finished.
The largest number of people to be knitting together in one room is 3,083 and the record was achieved by the Women’s Institute (naturally) in The Royal Albert Hall in 2012.
The fastest hand-knitted ‘sheep-to-jumper’ item was made in 4 hours 45 minutes and 53 seconds by a team in Swalmen, Netherlands in 2017. We don’t know how this was done and we don’t wish to, as we can’t bear to spoil the mental image of someone clicking their needles, taking wool directly off an ever-decreasing sheep.
The world’s largest knitting needles were made by an art student in Wiltshire. They measured 4.42m long and had a diameter of 9.01cm. To claim the world record, the needles had to be capable of knitting ten stitches and ten rows of yarn.
Slow TV in Norway once broadcast a knitting marathon lasting 13 hours, which was watched by 1.3 million viewers.
Get hold of your copy of this month's The Simple Things - buy, download or subscribe
More knitting inspiration…
More from our November issue…


Photography: Heather Birnie
How to: get started with knitting
If you’ve never picked up the needles, here’s how to click-clack your way to knitting knowhow
Knitting is one of those skills that looks terrifying until you’ve tried it. We’ve put together a brief guide on how to get started. If you’re inspired to try more, buy our January issue (in shops now) in which knitting guru Helen Hickman of Nellie and Eve has devised two chunky wool projects to knit on big needles (including the chunky cushion, pictured), ideal for knitting novices or stitching queens who fancy a quick and simple project.
How to cast on
1 Create a slip knot on your left needle and insert the point of the right needle through the knot from front to back (so needles are crossed).
2 Take the end of the yarn and wrap it clockwise over the top of the right needle (behind the left). Keeping the end of the wrapped yarn in your right hand, pull the right needle towards you, bringing the needle tip in front of and above the left needle: this creates a loop on the right needle.
3 Move the right needle to the tip of the left one and transfer the new loop across to the left needle (as you do this, the needle tips should be pointing at each other, not parallel).
4 Adjust the loop size by pulling the end of the yarn. You should now have two loops on the left needle.
5 Inserting your right needle into the new loop, repeat the process until you have the number of stitches required.
Knit stitch
Garter stitch is when all rows are in knit stitch, rather than alternated with rows of purl. The needle with the cast- on stitches should be in your left hand and the yarn at the back of the work.
1 Insert the right needle through the first stitch on the left needle, from front to back (so the two needles are crossed).
2 Take the end of the yarn and wrap it clockwise over the top of the right needle (behind the left needle). Keeping the end of the wrapped yarn in your right hand, pull the right needle towards you, bringing the needle tip in front of and above the left needle: this creates a loop on the right needle.
3 Release the old stitch off the left needle.
4 Repeat steps 1 to 3, until all stitches are on the right needle.
5 Next, swap the needles around and repeat steps above.
This will all make sense if you visit nellieandeve.co.uk/events/videos
Get hold of your copy of this month's The Simple Things - buy, download or subscribe
More simple makes for craft beginners…
More from our January issue…


The Making Spot launch a Facebook advent calendar that's stacked with crafty treats!
From December 1st to 24th, you'll be able to open a door per day to a huge range of discounts, projects, vouchers and more – just 'Like' their Facebook Page, it's that easy!
Read MoreMelanie Porter: inspiringly crafty upcycled furniture
From designing knitwear for international fashion brands to hand-crafted, one-off and simply gorgeous pieces of recycled vintage furniture...
Read More